GOURMET'S
TOOLBOX > VEGGIE
SLICERS > BENRINER SLICERS
>
TURNING SLICER >
CHANGING BLADES |

|
|
1.
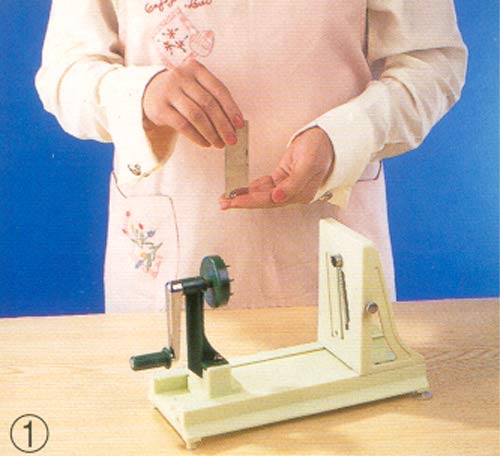
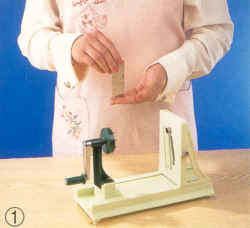
HOW TO ATTACH THE FLAT EDGED BLADE. When attaching this blade be sure that the upper
right hand corner of the sharpened side of the blade is placed against the slightly
protruding pipe. Fasten the blade to the machine. |
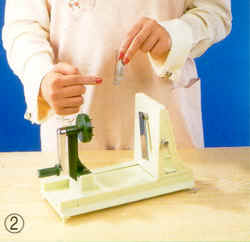
2. POSITIONING THE TOOTHED BLADE FOR ATTACHMENT.
Hold the blade as indicated in the
photograph. If the blade is attached backwards the machine will not cut. Please read the
instructions carefully. |
|
|
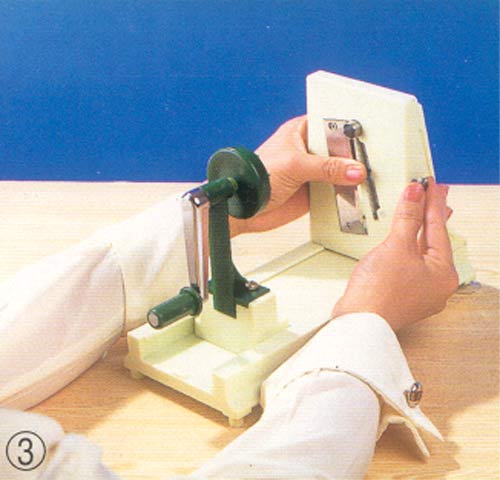
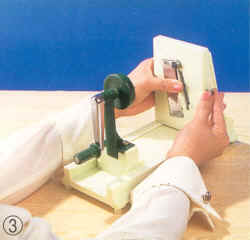
3.
HOW TO ATTACH THE TOOTHED BLADE. With the thumb, push the blade well towards the slot
as indicated above. When it is in line with the slightly protruding pipe, fasten it
by means
of the screw on the right-hand side
of the machine. |
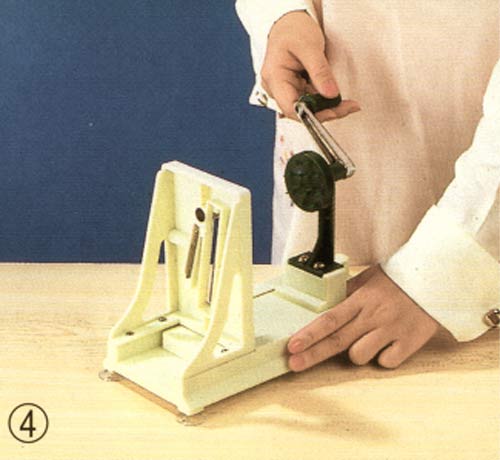
4.
CORRECT USE OF THE SLICER.
As shown in the photograph, place the
first two fingers
of the left hand in the space behind the machine and the thumb of the left hand at the
back of the sliding plate. While turning the handle with the right hand,
push (marked push
seal) the sliding plate firmly with the left thumb.
The machine will not cut by
turning
the handle only. |

|
|
|
BACK |
|
|
| |
|
|
|